
Installation and Connection a Small Business Office Network Set Up
Here’s a step-by-step skill and technical concept guide on how to set up a small business in an office network 19 U’ rack, using pictures and visual references throughout each step.
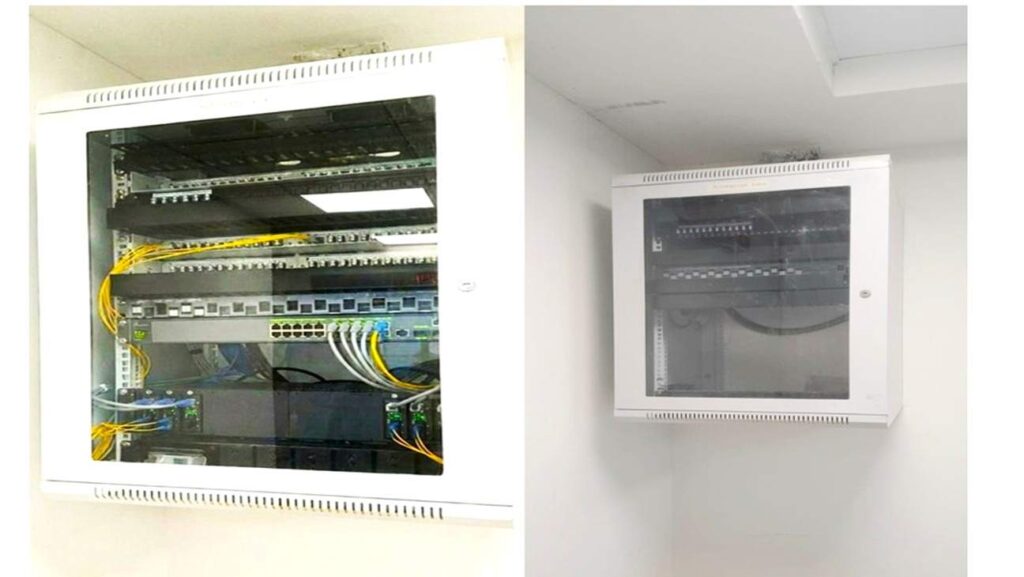
Step 1: Installation the Wall Mount 19U Network Rack
The first step is to have your network rack ready. This is the foundational element where all your networking equipment will be Installed. A small, wall-mounted 6U rack, like the one shown below Picture-1, is a Most common choice for small businesses or office purposes.

Step 2: Cabling and laying of Cables and Pinching in Patch panel,( if) LIU to Connect
Next, this is where the “patching” happens. Use short Ethernet patch cables to connect the ports on the patch panel to the corresponding correct ports on the network switch. This completes the physical connection between your office’s wall jacks and your network equipment as show in picture -2. Using colored cables and cable management clips can help keep things organized standard and easy for understand colours connection with tags.

Tips :If an OFC patch panel requires an LIU, install it near the top of the rack for easy connection and storage.
Step 3: Install the Network Core Components
you’ll install your main networking devices, such as a router or switch, or both. This typically consists of a patch panel, where cables from your office wall jacks will terminate, and a network switch, which will connect all your devices together. For more visual Picture-3
Tips: Best practice to Placing the patch panel above the switches is best for easier cable management.

Step 4: installed as all Active devices and connect
The network site engineer installs the remaining devices to complete your network setup to show below figure-4 .This often includes a router/firewall/switch for internet access and security, a power distribution unit (PDU) to power all your devices, and an uninterruptible power supply (UPS) to protect your equipment from power surges and outages and provide a stable power supply. All devices are connected correctly and tightly and are labelled.

Step 5: Check and Inspect all Cat 6 connections, earthing, and power management for compliance with network design standards.
Yes.

Before powering on the system, ensure that all devices connected to the power supply are properly connected. If there is a dual power supply, connect it as well. The required ports should be connected to the network device as per design and configuration.

Step 6: Turn on the power and begin configuring (if not already done)
If everything is fine, turn on the power and check any power supplies. If the device’s power management module LED is blinking green, and there are no alarms or red LED indicators, everything is fine as Figure, Network installation and communication have been successfully completed.

Step 7: Connection and power testing, and how to troubleshoot if there are any problems
Finally,
Troubleshooting: If you notice that the LAN switch port isn’t blinking properly, isn’t pinging, and is experiencing slow data flow of latency you may need to check for crimping or damage to the cable. Are there any alerts or red LED backlight information on the device and power supply port.? Fix it.